We made it to site!
Finally, we’ve made it to the end of our tips of how to plan an installation. Now we are going to talk about the mock-up and some graphic specifications. But first, let’s review some tips that we have discussed in previous posts.

In this blog, we have talked about simple steps that you can follow to make your installation process short and precise. Writing a thorough install brief allows you to manage risks, avoid wasted time on site and leads to a stress-free delivery on the final stage of your project.
1# tip of our specialists is related with timing. Specifying a time frame (AM/PM), or time sensitive, is important so we can allocate our installers to better suit you. Flexible timings are always a good option, as it may mean that you can have your work installed much sooner.
2# tip, we’ve talked about the location and the contact responsible on site. Some sites are tricky to find specially if it is a construction site, so we highly recommend you to make sure that all directions of how to get there is on the brief. It is also very important to have a site contact available who is responsible for directive to installers on site.
3# tip was about the delivery of your graphics. We recommend sending graphics direct to installers, this avoids graphics being misplaced or damaged on site, delays with the courier service, or time lost on site trying to locate graphics. We can’t install what’s not there, if the installer has the graphic we know we are all set to go.
#4 tip was a crucial part of the installation process: how to pack and dispatch. Make sure that all prints are labelled correctly especially if it is a large project. It will save time on site, avoid damages and mistakes.
Now is time to get to our 5# and last tip on “Planning an installation”. Let’s talk about the floor plans, visuals/ mock-ups and graphic specifications.
Floor Plans
If you have access to floor plans it is ideal to annotate the location of your graphics on the floor plans. For multiple graphic elements, its ideal to code each graphic and note these on the floor plans to avoid any confusion. This can be as simple as hand drawn codes on the floor plans.
Visuals / Mock-ups
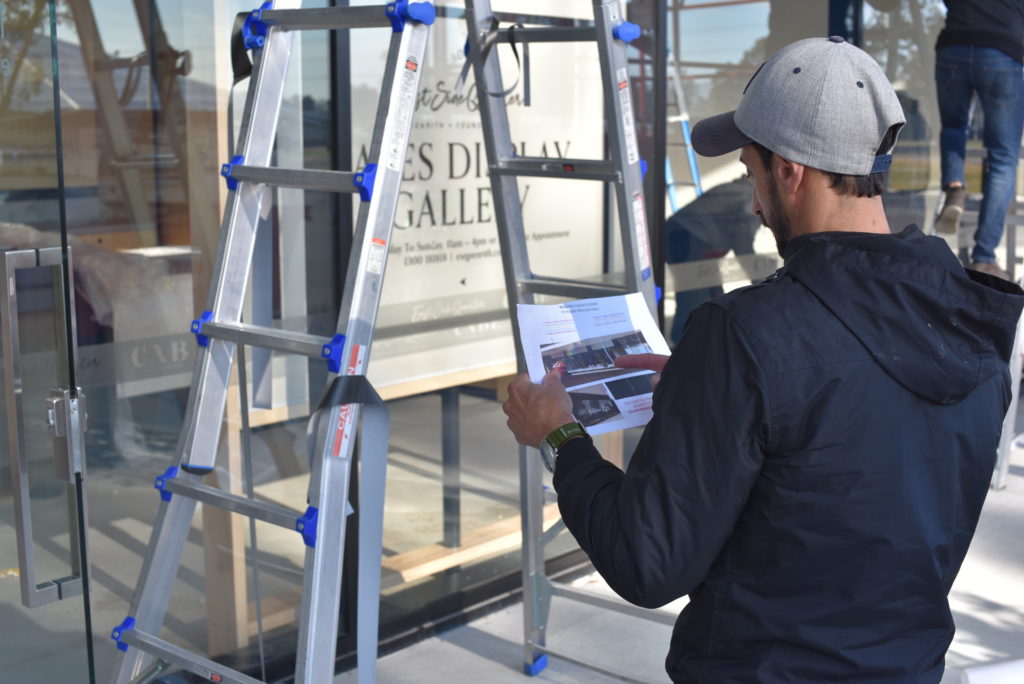
Mock-ups illustrating the exact placement of the graphic is ideal. This can be as simple as a hand drawn illustration.
If you can’t supply this, we will require someone on site to confirm placement, or directions for the installer to use their best judgment on site. This is never recommended by us as it is subjective as to exactly what was said and in a busy environment with lots of trades around, you are relying on the memory of an installer rather than a well-planned documented brief that can be called upon as a double check before installing each element. Whilst it may seem easier to brief on site and for the installers to be given a set of considerations to keep in mind, this will ultimately be left up to interpretation so if placement is critical this can lead to a result that isn’t exactly as intended.
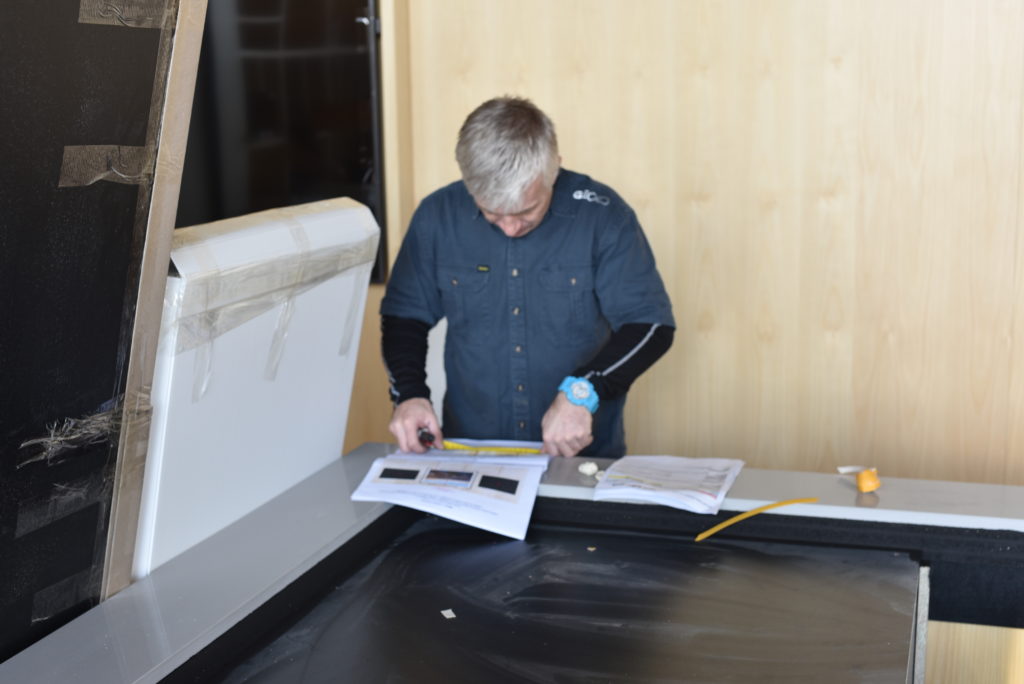
Graphic Specifications
A clear breakdown of the graphics being installed will help us establish how many people will be required for the job, how long it should take to install, and will act as a check list on site against visuals/plans.
This should be easily obtained from the production schedule. Here are some relevant specs: Substrate, Qty, Size, fixing method, codes relating to plans if applicable.
These are just a few steps that will make your life a lot easier when it comes to a graphic installation. Even if it is not a large project, this will help you be in control of the project at all stages.
If you have any questions don’t hesitate to get in touch with the Gecko team.
For more information about graphic installations, follow Gecko on Facebook and Instagram.